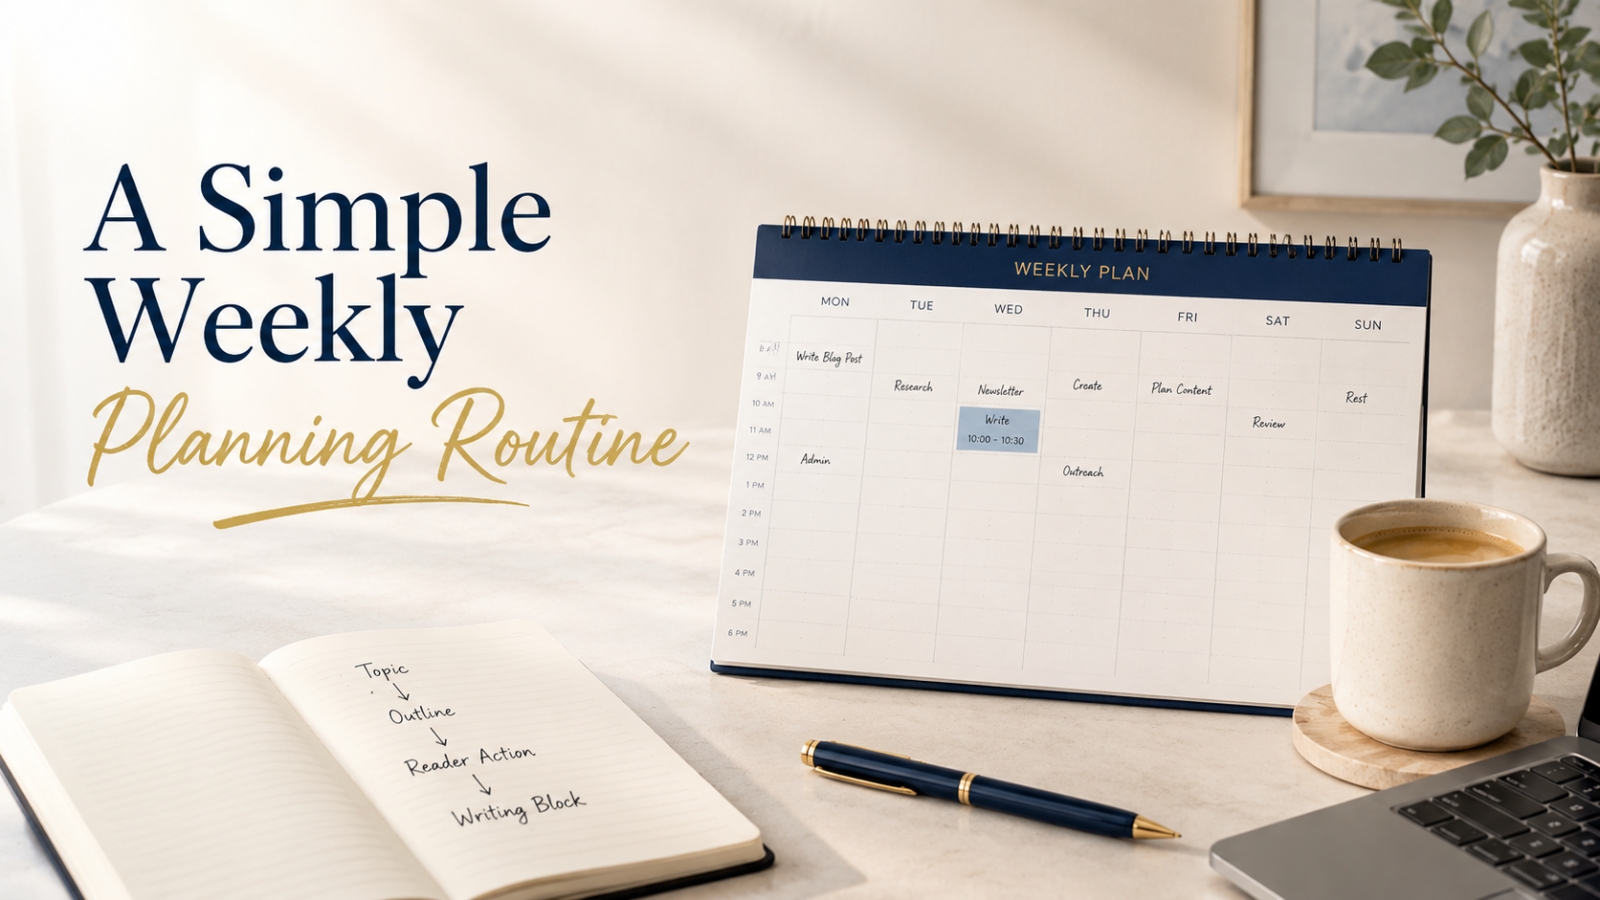

A simple writing framework for clearer, easier, more helpful posts.
Some days, the idea is not the problem.
You already know what you want to write about.
The problem is the shape.
Where do you begin?
What comes next?
How much should you explain?
Where should the example go?
How do you end without sounding flat?
That is when a simple outline can save you.
A good outline is not a cage.
It is more like a walking path through a quiet garden.
You can still enjoy the view. You can still add your own voice. You can still pause, take a small turn, and make the post feel like yours.
But the path keeps you from wandering in circles.
For many beginner-friendly posts, you can use this simple structure:
- Problem
- Why it matters
- Common mistake
- Simple steps
- Example
- Next action
Once you understand this framework, writing becomes less like guessing and more like guiding.
Why a Reusable Outline Helps
When you sit down to write without a structure, your brain has to do too many jobs at once.
It has to think of ideas.
It has to organize those ideas.
It has to decide what to include, what to leave out, and how to keep the reader moving.
That is a lot.
No wonder the page feels heavy.
A reusable outline removes some of that pressure.
It gives you a starting shape before you begin.
Instead of asking:
“What should I write?”
You can ask:
“What belongs in this part of the post?”
That is a much easier question.
And when the question is easier, the writing feels lighter.
The Big Mistake Beginners Make
The big mistake is writing everything in the order it comes to mind.
That feels natural.
After all, you have thoughts, so you put them on the page.
But the order your thoughts arrive in is not always the best order for your reader.
Your draft may start with a tip, jump into a personal thought, move into a warning, add a few steps, then end with a general reminder.
The content may be useful.
But the path may feel messy.
A strong blog post does not only contain useful points. It places those points in an order the reader can follow.
That is what a reusable outline helps you do.
It turns scattered thoughts into a guided lesson.
The Simple Blog Post Outline
Here is the outline you can use again and again:
- Start with the problem
- Explain why it matters
- Point out the common mistake
- Share simple steps
- Give an example
- End with one next action
This structure works because it follows a natural learning flow.
First, the reader feels seen.
Then they understand why the issue matters.
Then they see what may be going wrong.
Then you give them a simple way forward.
Then you show the method in action.
Then you leave them with one small step.
That is a clear post.
Not complicated.
Not fancy.
Just useful.
Step 1: Start With the Problem
Do not begin by explaining everything.
Begin close to the reader’s real moment.
If the topic is reducing phone distractions at night, do not start with a dry line like:
“Phone use before bed is a common modern problem.”
That may be true.
But it does not pull the reader in.
Start with the moment instead:
You tell yourself you will check your phone for five minutes. Then one video becomes another. A few messages turn into a scroll. Suddenly, it is later than you planned, and your mind still feels switched on.
That opening works because the reader can feel it.
They know that moment.
They have lived it.
Once the reader feels understood, they are more willing to follow the lesson.
Ask This Before You Write
What real moment makes my reader need this post?
Step 2: Explain Why It Matters
After naming the problem, explain why the reader should care.
Keep this honest.
Do not make the problem sound bigger than it is.
You are not trying to scare the reader.
You are helping them understand the cost of leaving the problem unchanged.
For the phone example, you might explain:
- late-night scrolling can make the evening feel less restful
- the reader may lose time they wanted to use differently
- their mind may feel busy when they want to slow down
- the habit can become automatic if they never pause to change it
This section gives weight to the topic.
It tells the reader:
“This is worth paying attention to.”
Ask This Before You Write
Why does this problem matter in the reader’s everyday life?
Step 3: Point Out the Common Mistake
The common mistake section helps the reader see what may be keeping them stuck.
But be careful.
This section should not sound like blame.
It should feel like a gentle light being switched on.
For the phone example, the common mistake might be:
Trying to stop scrolling without replacing the habit with a simple evening routine.
That is helpful.
It explains why “I’ll just stop using my phone” often fails.
The reader is not lazy.
They simply need a clearer replacement habit.
That kind of mistake section builds trust because it reduces shame.
It says:
“There is a reason this is hard. Let’s make it easier.”
Ask This Before You Write
What mistake does my reader make that is understandable but unhelpful?
Step 4: Share Simple Steps
Now you can give the method.
This is where many writers want to begin.
But notice the order.
You did not start with steps.
You first showed the problem, explained why it matters, and named the common mistake.
Now the reader is ready for the solution.
For a post about reducing phone distractions at night, the simple steps could be:
- Choose one phone cut-off time
- Move the phone away from the bed
- Prepare one low-effort replacement activity
- Set up the room for winding down
- Review how it felt the next morning
Keep the steps simple.
A beginner-friendly post should feel doable.
If the steps are too many or too heavy, the reader may stop before they begin.
Ask This Before You Write
What are the fewest steps my reader needs to take useful action?
Step 5: Give an Example
Examples help the lesson become real.
Without an example, the reader may understand the idea but still feel unsure how to apply it.
For the phone example, you might show a simple evening plan.
Example: A 20-Minute Phone Wind-Down Routine
The reader chooses a phone cut-off time of 10:00 p.m.
At 9:50 p.m., they plug the phone in across the room.
Then they choose one simple replacement activity:
- read two pages of a book
- write tomorrow’s first task on paper
- prepare clothes for the next morning
- make a cup of caffeine-free tea
- sit quietly with soft lighting for a few minutes
They are not trying to create a perfect evening routine.
They are only creating a small signal that says:
“The day is slowing down now.”
That example makes the method easier to picture.
And when the reader can picture it, they are more likely to try it.
Ask This Before You Write
What simple example can show the reader how this works?
Step 6: End With One Next Action
A helpful post should not simply stop.
It should guide the reader toward one action.
Not ten actions.
One.
For the phone example, the next action could be:
Tonight, choose one phone cut-off time and one replacement activity. Do not redesign your whole evening. Just make the first 20 minutes easier to follow.
That is clear.
It is small enough to do.
And it turns reading into progress.
A good next action makes the post feel complete.
Ask This Before You Write
What should the reader do after finishing this post?
Worked Example: Turning the Outline Into a Full Post
Let’s see how the whole outline works with one topic.
Topic
Reducing phone distractions at night.
Reader
A person who keeps scrolling late at night and wants a calmer evening routine.
Reader Problem
They plan to stop using their phone earlier, but they keep picking it up because there is no clear replacement habit.
Reader Outcome
After reading, they can create a simple 20-minute phone wind-down routine before bed.
Possible Blog Post Title
How to Create a 20-Minute Phone Wind-Down Routine Before Bed
Now let’s map the post.
Section 1: Problem
Start with the moment.
The reader checks one message, then keeps scrolling. The evening disappears faster than expected, and they feel annoyed with themselves afterward.
Section 2: Why It Matters
Explain that this habit can make the evening feel less restful, steal time from other priorities, and make winding down feel harder.
Section 3: Common Mistake
Point out that many people try to “just stop scrolling” without choosing what to do instead.
Section 4: Simple Steps
Share the simple process:
- choose a cut-off time
- move the phone away from the bed
- choose one replacement activity
- lower the lights
- review the next morning
Section 5: Example
Show a 20-minute routine:
- 9:50 p.m. plug in the phone across the room
- 9:55 p.m. write tomorrow’s first task
- 10:00 p.m. dim the lights
- 10:05 p.m. read two pages or sit quietly
- 10:10 p.m. prepare for bed
Section 6: Next Action
Ask the reader to choose one cut-off time and one replacement activity for tonight.
Now the post has shape.
The writer knows what to include.
The reader knows where the article is going.
That is the power of a reusable outline.
Why This Outline Works So Well
This outline works because it follows a natural teaching flow.
It does not throw tips at the reader too early.
First, it helps the reader feel seen.
Then it explains why the problem matters.
Then it gently reveals what may be going wrong.
Only after that does it give steps.
That order matters.
If you give steps before the reader understands the problem, the advice may feel random.
If you give examples before the method, the example may feel disconnected.
If you end without a next action, the reader may like the post but do nothing with it.
This outline keeps everything in the right place.
When to Use This Outline
You can use this structure for many beginner-friendly posts.
It works especially well for posts that teach:
- a simple process
- a common mistake
- a beginner method
- a practical routine
- a useful decision
- a small improvement
For example, the structure could work for topics like:
- setting up a morning routine
- organizing a small closet
- choosing a beginner workout
- creating a simple study plan
- preparing a weekly family schedule
- reducing phone distractions at night
- planning a simple home cleaning reset
The topic changes.
The teaching path stays useful.
When Not to Use This Outline
This outline is flexible, but it is not for everything.
You may not need it for:
- personal stories
- opinion pieces
- news-style updates
- short announcements
- product release posts
- interviews
- list posts with very short tips
That is okay.
No outline should be forced into every situation.
Use it when your goal is to guide the reader from confusion to clarity.
Common Mistakes to Avoid
Mistake 1: Skipping the Problem
If you jump straight into tips, the reader may not feel connected.
Start with the problem so they know the post is for them.
When the reader feels seen, the lesson lands better.
Mistake 2: Making “Why It Matters” Too Dramatic
You do not need to overstate the problem.
Keep it honest.
Explain the real cost without making the reader feel scared or judged.
Calm clarity is stronger than drama.
Mistake 3: Turning the Common Mistake Into Blame
The mistake section should feel helpful, not harsh.
Do not make the reader feel foolish.
Show them what may be happening, then give them a better way forward.
Mistake 4: Giving Too Many Steps
If your steps feel heavy, the reader may stop.
Keep the method simple enough to try.
A three-step method the reader uses is better than a ten-step method they avoid.
Mistake 5: Ending With a Weak Closing
Do not end with only:
“I hope this helped.”
Give the reader one clear action.
That is what turns the post into a guide.
Quick Exercise: Build Your Next Post With This Outline
Use this simple worksheet before writing.
My Topic Is:
[Write your topic.]
The Reader’s Problem Is:
[Describe the problem.]
Why This Matters:
[Explain why the reader should care.]
The Common Mistake Is:
[Name one mistake.]
The Simple Steps Are:
- [Step 1.]
- [Step 2.]
- [Step 3.]
- [Step 4, if needed.]
- [Step 5, if needed.]
My Example Will Show:
[Describe the example.]
The Reader’s Next Action Is:
[Write one clear action.]
If you can fill in these blanks, you already have a strong starting outline.
The draft will still take work.
Of course it will.
But now you are not staring at a blank page with no map.
You have a path.
Final Thought: Structure Makes Writing Feel Lighter
A reusable outline does not make your writing boring.
It makes your writing clearer.
You still bring your voice.
You still choose your examples.
You still add your stories and personality.
The outline simply gives your ideas a place to go.
So the next time your draft feels messy, do not assume the idea is weak.
It may only need a better structure.
Start with the problem.
Show why it matters.
Point out the common mistake.
Share simple steps.
Give an example.
End with one next action.
That simple path can carry many useful posts.
And it can make writing feel a lot less heavy.
Use This With Blogger’s Success Toolkit
If you already own Blogger’s Success Toolkit, log in to the Blogger Success Blueprint members area and use the planning resources to shape your next post before writing the first draft.
Start with the problem, then build the outline one section at a time.
Members Login:
https://bloggersuccessblueprint.com/members/
New to Blogger’s Success Toolkit?
Blogger’s Success Toolkit gives you a beginner-friendly path to choose your direction, plan useful content, write stronger titles, and begin building your blog with more structure.