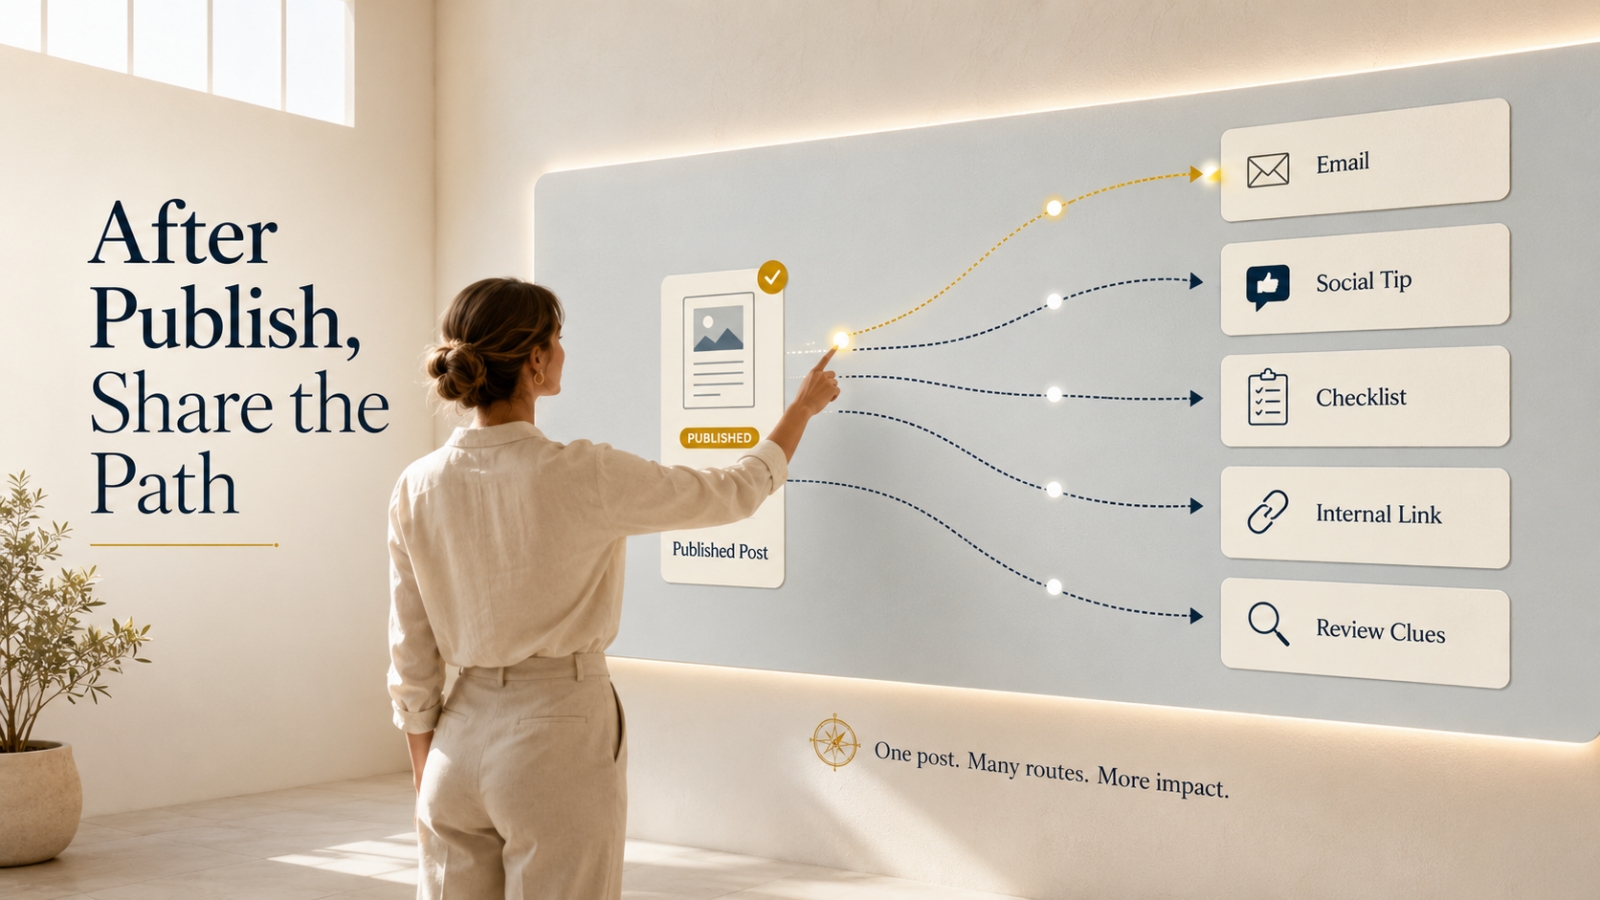
A simple after-publish routine to help more readers find, use, and remember your content.
Publishing a blog post feels like a finish line.
You write the draft.
You edit the rough parts.
You check the title one more time.
You fix that sentence that still feels a little awkward.
Then you hit publish.
For a moment, it feels done.
And yes, that part matters.
Getting a post published is real progress.
But here is the part many new bloggers miss.
Publishing is not the end of the job.
It is the beginning of the next step.
Because even a helpful post needs a little help getting seen.
If you simply publish it and move on, the article may sit quietly on your site while the people who need it never find it.
That does not mean you need to shout everywhere.
It means you need a simple after-publish routine.
One that helps your post travel.
One that helps readers discover it.
One that helps you learn what is working.
Why Publishing Alone Is Not Enough
A blog post does not automatically reach people just because it is live.
That can feel unfair at first.
You did the work.
You wrote the article.
You made it helpful.
Shouldn’t readers just appear?
Sometimes they will.
But often, they need a path to the post.
Think of it like opening a small workshop at the end of a quiet street.
The workshop may be warm and useful inside. The shelves may be neat. The tools may be ready.
But if there are no signs, no directions, and no invitation, people may walk past without knowing it exists.
Your post needs a few signs.
An email.
A social post.
A short tip.
A related link.
A simple follow-up.
That is not being pushy.
That is helping the right people find the thing you made for them.
The Big Mistake Beginners Make
The big mistake is publishing and disappearing.
Many beginners do this.
They publish the post, feel relieved, and immediately start worrying about the next article.
Another blank page.
Another topic.
Another deadline.
But the post they just published barely gets a chance to breathe.
That is a shame.
A good post can do more than sit on your site.
It can become an email.
It can become a short social post.
It can become a checklist.
It can connect to older posts.
It can teach you what your readers care about.
So before you rush to write the next post, give the current one a simple launch.
Not a huge campaign.
Just a clear after-publish routine.
The Simple After-Publish Framework
Use this framework after publishing your next post.
It has five parts:
- Share it
- Email it
- Repurpose it
- Link it
- Track what happens
That is enough to begin.
You do not need to do everything on the same day.
You do not need to post everywhere.
You only need to give your content a few more chances to reach the right reader.
Step 1: Share the Post in One or Two Places
Start by sharing the post where your readers are most likely to see it.
Do not try to be everywhere.
Choose one or two places you can manage well.
That could be:
- a Facebook page or group
- X
- a community you belong to
- a simple resource page on your own site
The goal is not to blast the link everywhere.
The goal is to share one useful reason to read it.
For example, instead of writing:
New post is live. Read it here.
Try something more helpful:
If your study sessions keep falling apart because you do not know where to begin, this simple routine may help you start with less stress.
That gives the reader a reason.
It connects the post to a problem.
That small shift makes promotion feel more useful.
Step 2: Send It to Your Email List
Your email list is one of the best places to share a new post.
These are people who already asked to hear from you.
So do not overcomplicate it.
You do not need to paste the whole blog post into the email.
Send a short note.
Open with the problem.
Share one useful idea.
Invite them to read the full post.
For example, if the post is about creating a simple study routine, your email could say:
Have you ever sat down to study and spent the first 20 minutes deciding what to do? That is often where the stress begins. I wrote a guide that shows a simple way to plan one study session before you start.
Then link to the post.
That is enough.
The email becomes the doorway.
The blog post becomes the full guide.
Step 3: Repurpose One Useful Piece
You do not need to repurpose the whole article.
Start with one piece.
Look inside the post and ask:
What is one idea I can share in another format?
For a study routine post, you might pull out:
- one quick tip
- one short checklist
- one mistake to avoid
- one before-and-after example
- one quote-style reminder
- one simple process
For example, if the article teaches a 20-minute study reset, you could turn the steps into a checklist.
20-Minute Study Reset Checklist
- Choose one subject
- Clear the desk
- Set a timer
- Write the one task you will complete
- Put the phone away
- Work until the timer ends
- Write down the next step before stopping
That checklist could become a social post, a downloadable resource, or a quick email follow-up.
Same post.
New doorway.
Step 4: Link It From a Related Older Post
This step is easy to forget.
After publishing a new post, look at your older content.
Is there an older article that could naturally link to the new one?
If yes, add the link.
For example, if you have an older article about reducing exam stress, you could add a sentence like:
If your stress comes from not knowing how to begin each study session, you may also find this simple study routine helpful.
Then link to the new post.
This helps readers move through your site.
It also makes your content feel more connected.
A blog should not feel like a box of loose papers.
It should feel like a guided path.
Internal links help create that path.
Step 5: Track What Happens
You do not need advanced analytics to begin.
Just pay attention.
After a few days or a week, check simple signs:
- Did anyone click the email link?
- Did the social post get saves, replies, or comments?
- Did people spend time on the article?
- Did anyone ask a follow-up question?
- Did the topic feel more interesting than usual?
- Did another post idea come from reader response?
This is not about obsessing over numbers.
It is about listening.
Your readers leave clues.
A click is a clue.
A reply is a clue.
A question is a clue.
A quiet post is also a clue.
The goal is to learn what to improve next.
Worked Example: After Publishing a Study Routine Post
Let’s walk through one example.
Imagine you publish this post:
How to Create a Simple Study Routine When You Keep Getting Distracted
The post helps students who sit down to study but keep losing focus.
The article teaches a simple routine:
- choose one task
- clear the desk
- set a timer
- put the phone away
- write the next step before stopping
Now what happens after publishing?
The After-Publish Plan
1. Share It
Create one social post that starts with the real problem.
Example:
You sit down to study, but the first 20 minutes disappear while you decide what to work on. A simple study routine can help you start faster and feel less scattered.
Then link to the full post.
This is better than just posting the link because it gives readers a reason to care.
2. Email It
Send a short email to your list.
The email does not need to explain the whole article.
It only needs to open the idea.
Example:
If studying feels harder before you even begin, the problem may not be motivation. It may be that your next step is unclear. I wrote a simple guide that shows how to plan one study session before you start.
Then link to the full post.
That is enough.
3. Repurpose It
Pull one small piece from the post.
For example:
Quick Tip
Before you study, write down the one task you will complete before you open your book or laptop.
That could become a social post, a short email note, or a small graphic.
Or you could turn the whole routine into the checklist shown earlier.
4. Link It
Find an older related post.
For example, if you have a post about exam stress, time management, or focus problems, add a natural link to the new study routine post.
That helps readers continue the journey.
5. Track It
After a week, check one or two simple clues.
Did anyone click?
Did anyone reply?
Did anyone save the post?
Did anyone ask a question?
You are not looking for perfect numbers.
You are looking for signals.
Those signals help you decide what to write, improve, or share next.
What to Avoid After Publishing
Mistake 1: Posting Only the Link
A plain link gives readers no reason to care.
Add a short reason, question, or problem before the link.
Help the reader understand why the post is worth their time.
Mistake 2: Sharing Everywhere at Once
If promotion feels too big, you may avoid it.
Start with one or two places.
Consistency matters more than noise.
A simple share you actually do is better than a big plan you keep delaying.
Mistake 3: Copying the Same Caption Everywhere
Adjust the message slightly for each place.
An email can feel warmer.
A social post can be shorter.
A checklist can be practical.
Same post.
Different doorway.
Mistake 4: Moving On Too Quickly
Do not abandon the post after one share.
A good article can be shared again from a different angle.
One day, you may share the problem.
Another day, you may share a checklist.
Another day, you may share one mistake to avoid.
That gives the post more chances to reach the right reader.
Mistake 5: Ignoring Reader Clues
If people reply, click, save, or ask questions, pay attention.
Those clues can shape your next post.
They can also show you which part of your message is connecting.
Do not ignore the small signals.
They matter.
The 7-Day After-Publish Routine
Here is a simple routine you can follow.
Day 1: Publish and Share
Publish the post and share one useful angle on your main platform.
Keep the message simple.
Connect the post to one reader problem.
Day 2: Send a Short Email
Send a brief email that opens with the reader’s problem and links to the full post.
Do not paste the whole post into the email.
Let the email invite the click.
Day 3: Create One Social Tip
Pull one tip from the post and share it as a short standalone idea.
The tip should be useful even before someone clicks.
Day 4: Add One Internal Link
Find one older post and link it to the new article if it fits naturally.
This helps your content feel connected.
Day 5: Create a Simple Checklist or Summary
Turn the post’s steps into a small checklist, summary, or reminder.
This gives the lesson another useful format.
Day 6: Share a Different Angle
Share the same post again, but focus on a different pain point, mistake, or question.
Do not repeat the exact same caption.
Give readers a new doorway into the same article.
Day 7: Review What Happened
Look at clicks, replies, comments, saves, or questions.
Then write down one thing you learned.
This routine is not heavy.
It simply gives your post a fair chance.
Quick Exercise: Create Your After-Publish Plan
Use this worksheet for your next post.
My Published Post Is:
[Write the title.]
One Pain Point I Can Share Is:
[Write one reader problem.]
One Email Angle Is:
[Write one short email idea.]
One Social Tip Is:
[Write one useful tip.]
One Checklist or Summary Idea Is:
[Write one small repurposed content idea.]
One Older Post I Can Link From Is:
[Write the title or topic.]
One Thing I Will Track Is:
[Clicks, replies, saves, comments, time on page, or questions.]
You do not need a huge plan.
Just give the post a few paths to reach people.
Final Thought: Publishing Is the Start of the Next Step
Publishing matters.
Do not minimize that.
Getting a post live takes effort, focus, and follow-through.
But once the post is published, give it a little support.
Share it.
Email it.
Repurpose it.
Link to it.
Watch what happens.
That is how one post starts working harder.
Not by shouting.
Not by forcing.
But by giving readers more than one way to find it.
So after your next post goes live, do not rush away too quickly.
Stay with it for a few days.
Help it travel.
Then learn from the response.
That simple habit can make your content feel less like a one-time task and more like a growing system.
Use This With Blogger’s Success Toolkit
If you already own Blogger’s Success Toolkit, log in to the Blogger Success Blueprint members area and use the planning resources to create a simple after-publish routine for your next post.
Start with one share, one email, one repurposed idea, and one thing to track.
Members Login:
https://bloggersuccessblueprint.com/members/
New to Blogger’s Success Toolkit?
Blogger’s Success Toolkit gives you a beginner-friendly path to choose your direction, plan useful content, write stronger titles, and begin building your blog with more structure.