A simple way to refresh useful content so it serves your readers better.
There is a quiet pressure many new bloggers feel.
It sounds like this:
“I need to write something new.”
Another post.
Another idea.
Another blank page.
Another little battle with the cursor.
But growth does not always come from creating more.
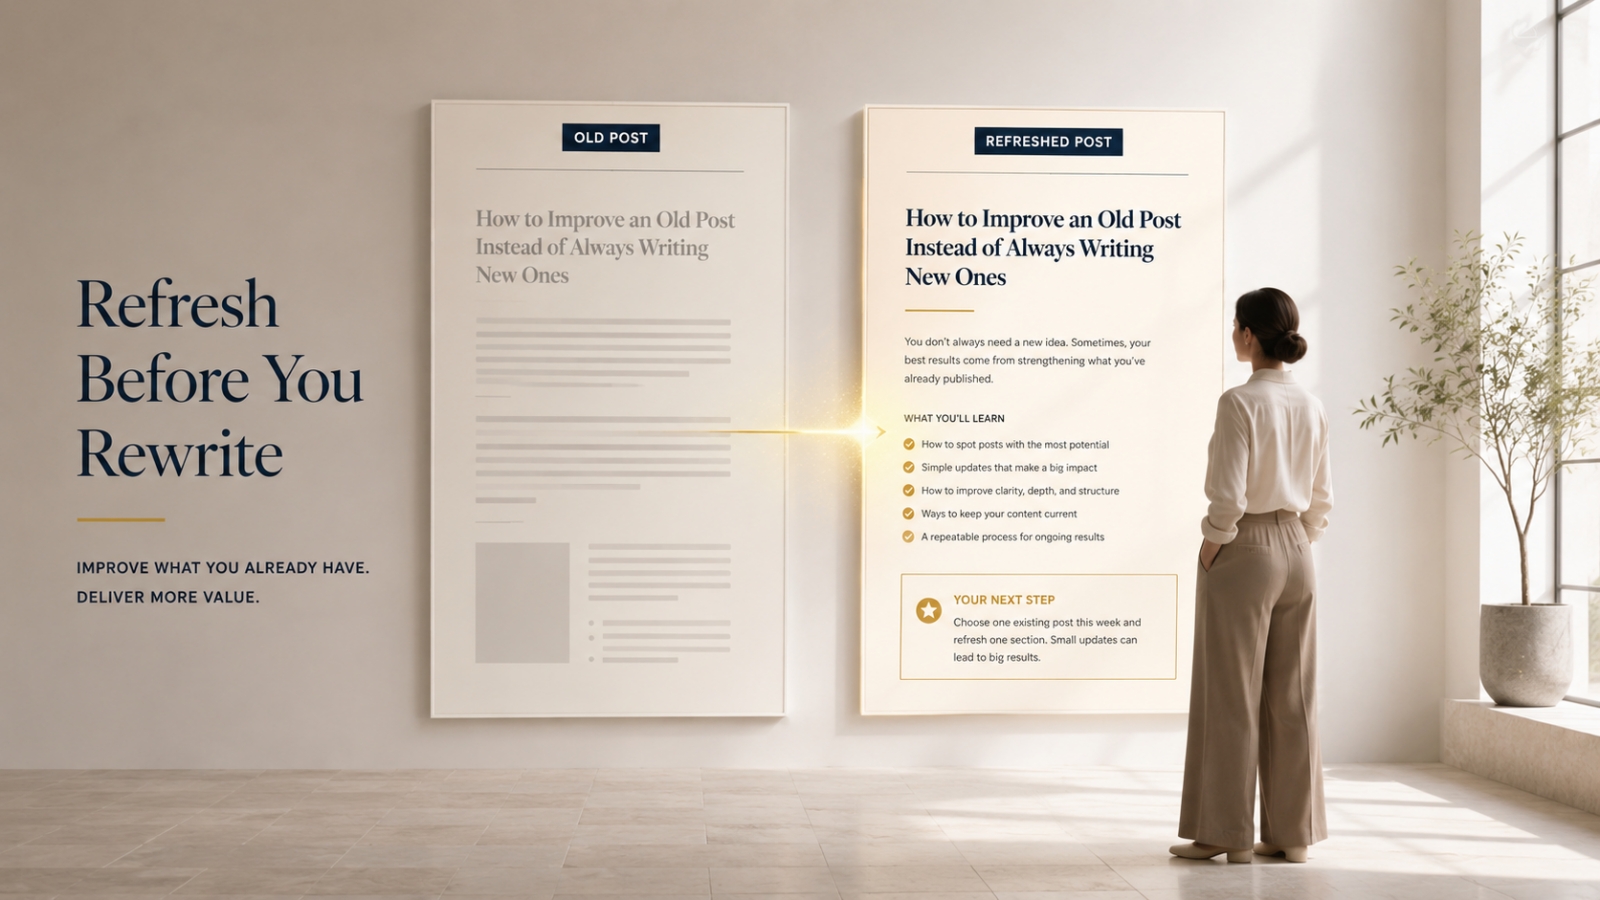
Sometimes, growth comes from improving what you already have.
An older post may still hold real value. It may simply need a clearer title, a warmer opening, stronger examples, better structure, or a more helpful next step.
Think of it like a room you already use every day.
You do not always need a bigger house.
Sometimes, you just need to move the chair, clear the desk, open the curtains, and make the space easier to live in.
Your content can work the same way.
Why Updating Older Content Is Worth Your Time
Many beginners treat older posts like yesterday’s newspaper.
Published once.
Seen once.
Forgotten.
But an older article can still help readers if the core idea is useful.
Maybe the post answers a real question.
Maybe the topic still matters.
Maybe people still need that advice.
The problem may not be the idea.
The problem may be how the idea is presented.
When you improve an older post, you can make it:
- easier to understand
- easier to read
- more useful for beginners
- more aligned with your current voice
- more complete without feeling heavy
- more likely to guide the reader toward action
That is why content updating is such a smart habit.
It lets you bring more value out of work you have already done.
The Big Mistake Beginners Make
The big mistake is treating new content as the only growth path.
Writing fresh content matters.
But if that is the only thing you do, your blog can become a shelf full of half-polished work.
One article has a weak intro.
Another has no clear next step.
Another has outdated examples.
Another has useful ideas buried under long paragraphs.
You keep adding more, but the older pieces do not become stronger.
That can feel productive.
But it may not be the best use of your time.
A refreshed post can sometimes do more for the reader than a rushed new one.
Why?
Because you are not starting from zero.
You already have the seed.
You are helping it grow.
The Content Refresh Framework
Before you rewrite everything, slow down.
You do not need to tear the whole article apart.
Use this simple framework instead:
- Choose one post with real potential
- Check the reader outcome
- Improve the opening
- Add clearer structure
- Replace thin examples
- Add one practical improvement
- Give the reader one clear next step
Let’s walk through each step.
Step 1: Choose One Post With Real Potential
Not every old post needs your attention.
Start with one article that still has a useful core idea.
Good candidates include posts that:
- answer a common beginner question
- explain a simple process
- solve a recurring problem
- could be clearer with better examples
- have a good topic but weak structure
- need a stronger next step
Do not begin with the messiest post on your site.
Begin with one post that is worth saving.
You want a post where the main idea is still good, even if the writing needs work.
Ask yourself:
Is the topic still useful to my reader?
If yes, that post may be worth improving.
Step 2: Check the Reader Outcome
Before you edit the words, ask this:
What should the reader be able to do after reading this post?
If the answer is unclear, that is the first thing to fix.
An article without a reader outcome often feels scattered.
It may contain helpful points, but the reader does not know where the post is taking them.
Before you improve sentences, define the purpose.
For example:
The reader should be able to set up a small home office corner that feels more comfortable and easier to work in.
That gives the update direction.
Now you know what to keep, what to improve, and what to remove.
Step 3: Improve the Opening
The opening decides whether the reader leans in or drifts away.
Many older posts begin too slowly.
They explain too much background before reaching the real problem.
A stronger opening speaks to the reader’s moment.
For example, instead of starting with:
Working from home has become common, and many people need a dedicated workspace.
You could write:
You sit down to work, but your back hurts, the table is crowded, and the charger cable keeps sliding behind the desk. Your home office does not need to be perfect. But it should not fight you every morning.
That feels more alive.
It puts the reader in the scene.
And it quickly tells them:
“This post understands the problem.”
Step 4: Add Clearer Structure
A good post should feel easy to move through.
If the old version feels like one long explanation, break it into clearer sections.
Use headings that guide the reader.
For a home office setup article, the structure could become:
- Choose the right spot
- Clear the surface
- Improve your chair setup
- Adjust your screen height
- Add better lighting
- Keep daily tools within reach
- Reset the space at the end of each day
This gives the post a natural path.
The reader can follow it without getting lost.
A clear structure is like a hallway with lights on.
The reader always knows where to walk next.
Step 5: Replace Thin Examples
Examples are where many older posts feel weak.
They may say the right thing, but not show enough.
For example, a thin line might say:
Make sure your workspace is comfortable.
That is true, but vague.
A stronger version could say:
If your shoulders feel tight by lunchtime, your setup may be working against you. Try raising your screen to eye level, keeping your feet flat, and placing your keyboard where your elbows can rest naturally.
That is much more useful.
It helps the reader picture the fix.
And once they can picture it, they are more likely to try it.
Step 6: Add One Practical Improvement
When updating an older post, look for one simple way to make the article more useful.
You might add:
- a short checklist
- a clearer example
- a step-by-step section
- a common mistakes section
- a simple before-and-after example
- a better ending with one clear action
You do not need to add everything.
Choose the improvement that helps the reader most.
For example, if the article is about setting up a small home office, a checklist may help more than another long explanation.
The goal is not to make the post bigger.
The goal is to make it easier to use.
Step 7: Give the Reader One Clear Next Step
Do not let the post fade out.
End with one clear action.
For the home office article, the next step could be:
Choose one part of your setup to improve today. Start with the chair, lighting, or desk surface. Do not redesign the whole room. Fix the one thing that bothers you most.
That ending feels doable.
And doable is powerful.
Readers are more likely to act when the next step feels small enough to begin.
Worked Example: Refreshing a Home Office Setup Post
Let’s walk through a simple example.
Imagine you have an older post called:
Home Office Setup Tips
The topic is useful, but the title feels broad.
It could apply to almost anyone.
It does not tell the reader what result they will walk away with.
Original Post Title
Home Office Setup Tips
Improved Post Title
How to Set Up a Small Home Office Corner That Feels Easier to Work In
This version is clearer.
It speaks to someone with limited space.
It also promises a practical outcome.
The reader can imagine the result.
What We Would Improve
The Reader
A person working from home with limited space.
The Problem
Their workspace feels cramped, uncomfortable, and distracting.
The Outcome
After reading, they can improve one small home office corner so it feels easier to use.
The Better Structure
The refreshed post could use this structure:
- Choose one work area
- Clear unnecessary items
- Adjust the chair and screen height
- Improve lighting
- Keep daily tools nearby
- Create one small storage spot
- Do a 10-minute reset at the end of each day
This structure is simple.
It does not try to design a dream office.
It helps the reader make a real space work better.
Before-and-After Example
Before
Lighting is important for productivity. Make sure your workspace has enough light.
That is correct, but flat.
After
If your desk feels gloomy by late afternoon, your energy may dip before your work is done. Try adding a small lamp near your writing hand or moving your setup closer to natural light. You do not need a designer office. You need a space where your eyes do not feel tired after an hour.
The improved version is more human.
It gives a specific problem.
It suggests a simple fix.
It also lowers the pressure.
The reader does not need to create a perfect home office.
They only need to improve one thing that makes daily work easier.
What to Add When Updating an Older Post
You do not need to add everything.
Choose what makes the article more useful.
Add a Short Checklist
A checklist helps the reader act.
For the home office example:
Small Home Office Refresh Checklist
- Clear the desk surface
- Remove items you do not use daily
- Raise your screen if needed
- Improve lighting
- Keep charger and notebook within reach
- Create one small storage spot
- Reset the space at the end of the day
Simple checklists make content more practical.
They also help the reader move from reading to doing.
Add a Reader-Specific Section
If the old post is too general, add a section for a specific reader.
For example:
If You Have Very Limited Space
You do not need a full room to create a better work area.
You may only need:
- one clear table corner
- a supportive chair
- a small lamp
- a box for work items
- a habit of clearing the space after work
This section makes the post more useful for readers in small homes or shared spaces.
It also helps the article feel more thoughtful.
Add a Better Ending
Many older posts end too quickly.
They explain the topic, then stop.
A better ending gives the reader a next step.
For example:
Before you buy anything or rearrange the whole room, choose one part of your workspace to improve today. Clear the surface, adjust your chair, or add better light. One small fix can make the space feel easier tomorrow morning.
That ending is simple.
It does not overwhelm the reader.
It helps them act.
What to Remove When Updating an Older Post
Improving a post is not only about adding more.
Sometimes, the best edit is removing what does not help.
Look for:
- long introductions
- repeated points
- outdated advice
- vague examples
- off-topic sections
- filler phrases
- paragraphs that do not support the reader outcome
A better article is not always longer.
It is clearer.
If a section does not help the reader move forward, cut it or save it for another article.
Think of it like clearing the desk before work.
You are not throwing away what matters.
You are removing what gets in the way.
Common Mistakes to Avoid
Mistake 1: Rewriting the Whole Post Too Soon
Do not assume the entire article is bad.
Start by finding what still works.
Maybe the structure needs improvement.
Maybe only the opening is weak.
Maybe the examples need updating.
Fix the right problem.
Do not create extra work for yourself.
Mistake 2: Adding Too Much New Information
It is easy to turn a refresh into a giant expansion.
Be careful.
If the post is about setting up a small home office corner, do not suddenly add sections about productivity apps, remote work routines, time management, and career planning.
Those may be separate posts.
Keep the article focused.
Mistake 3: Keeping the Old Title Even When the Angle Has Changed
If you improve the reader outcome, the title may need to change too.
A stronger title helps the reader understand why the post matters.
Do not be afraid to update it.
Mistake 4: Forgetting the Reader’s Current Stage
A beginner needs a different level of detail than an advanced reader.
If your post is for beginners, keep the advice simple and practical.
Do not overload them with advanced steps.
Mistake 5: Ending Without Action
A refreshed post should have a stronger ending than the old version.
Give the reader one clear next step.
Not five.
Not ten.
One.
That is enough to help them move.
Quick Exercise: Refresh One Older Post This Week
Choose one older post.
Then answer these questions.
Which Post Will I Improve?
[Write the post title.]
Who Is This Post For?
[Describe one clear reader.]
What Problem Does It Help Solve?
[Name the problem.]
What Should the Reader Be Able to Do After Reading?
[Define the reader outcome.]
What Is One Section I Can Improve?
[Choose the title, opening, structure, examples, checklist, or ending.]
What Is One Thing I Can Remove?
[Choose filler, repeated points, outdated information, or off-topic sections.]
Start small.
Do not try to fix the whole archive.
Refresh one post with care.
That is enough for a strong first step.
Final Thought: Better Can Beat More
There will always be another idea you could write.
That is part of the work.
But do not forget the value already sitting on your site.
An older post may be one clear update away from becoming much more helpful.
A better title.
A stronger opening.
A clearer example.
A simple checklist.
A practical next step.
Those small changes can make the post feel fresh again.
So before you rush to write something new, look back.
Choose one useful article.
Make it easier to read, easier to use, and easier to act on.
Sometimes, better beats more.
Use This With Blogger’s Success Toolkit
If you already own Blogger’s Success Toolkit, log in to the Blogger Success Blueprint members area and use the planning resources to review one older post through a clearer reader-outcome lens.
Choose one article and improve one section first.
Members Login:
https://bloggersuccessblueprint.com/members/
New to Blogger’s Success Toolkit?
Blogger’s Success Toolkit gives you a beginner-friendly path to choose your direction, plan useful content, write stronger titles, and begin building your blog with more structure.
Learn More About Blogger’s Success Toolkit